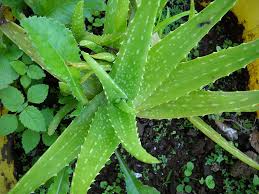
Neem oil
Sticky shieets
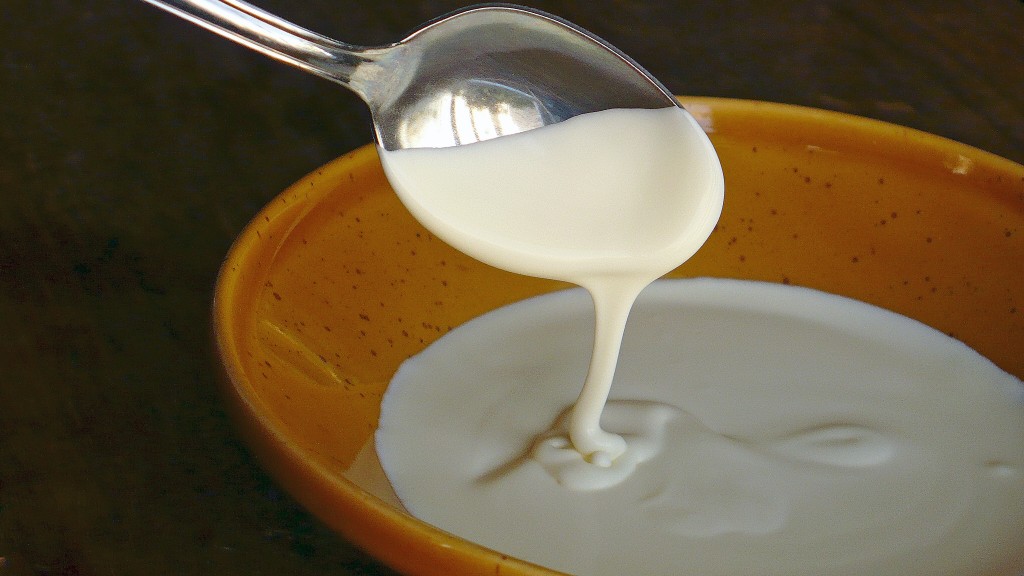
Water with a hydrogen peroxide solution
You can also kill whitefly larvae with the help of a hydrogen peroxide solution. You just have to create this solution by mixing four parts of water with one part of hydrogen peroxide or around 3% solution.
Once the solution is already made, pour it into the soil. After watering the soil with it, expect to notice some bubbling, which indicates that it is already working and on its way to get rid of whiteflies.
Expose to soapy water
You also get the chance to get rid of whiteflies by putting on soapy water on the affected plants. Used correctly, you can deter whiteflies with it. To create the soapy water, you need one gallon of water and two tablespoons of liquid dish soap or an insecticidal soap.
Mix the two well. Pour this solution into a spray bottle then use it in spraying the underside of the damaged leaf. You can increase your chance to completely eradicate the white flies by repeating the use of it every 2 to 3 days.
The use of soapy water can treat insect and pest infestations, like aphids and whiteflies. It is effective in killing them, especially their eggs and the ones that lay eggs. The fact that you also use a pressure spray bottle for this means that you easily knock off tiny white bugs from the leaves.
If you decide to use soap sprays to control whiteflies and other insects, it is advisable to do the application early morning. You may also do it in the evening. This is necessary for preventing dish or insecticidal soap residues on leaves that may only burn them when the sun is too strong.
Apply pyrethrin spray
Generally, it would be best for you to avoid the use of synthetic chemical pesticides when dealing with problems with your indoor plants. Despite that, there is a particular spray that is safe to use when planning to get rid of whiteflies – the pyrethrin spray.
It is generally safe since its active ingredient is naturally extracted from chrysanthemum flowers. Note, though, that there are pesticides often with pyrethroids labels that contain chemicals.
These chemicals are usually added to pure and organic pyrethrin as a means of boosting the pesticide’s functions. Remember that you can’t classify them as organic pesticides, which means you should be extra careful when using them.
Before investing in pesticides, spend time reading the label instructions carefully. Ensure that it is organic and pure plus mainly designed in controlling white flies.
Add reflective mulch
You can also keep whitefly away from your garden with the help of a reflective plastic mulch. All you have to do is to spread this mulch around the host plants of pests and insects. Doing so aids in reducing whitefly populations while protecting your plants from attacks.
The reason is that they can confuse bugs. With that, you can prevent whiteflies and bugs from getting into your plants, making it hard for them to cause infestations.
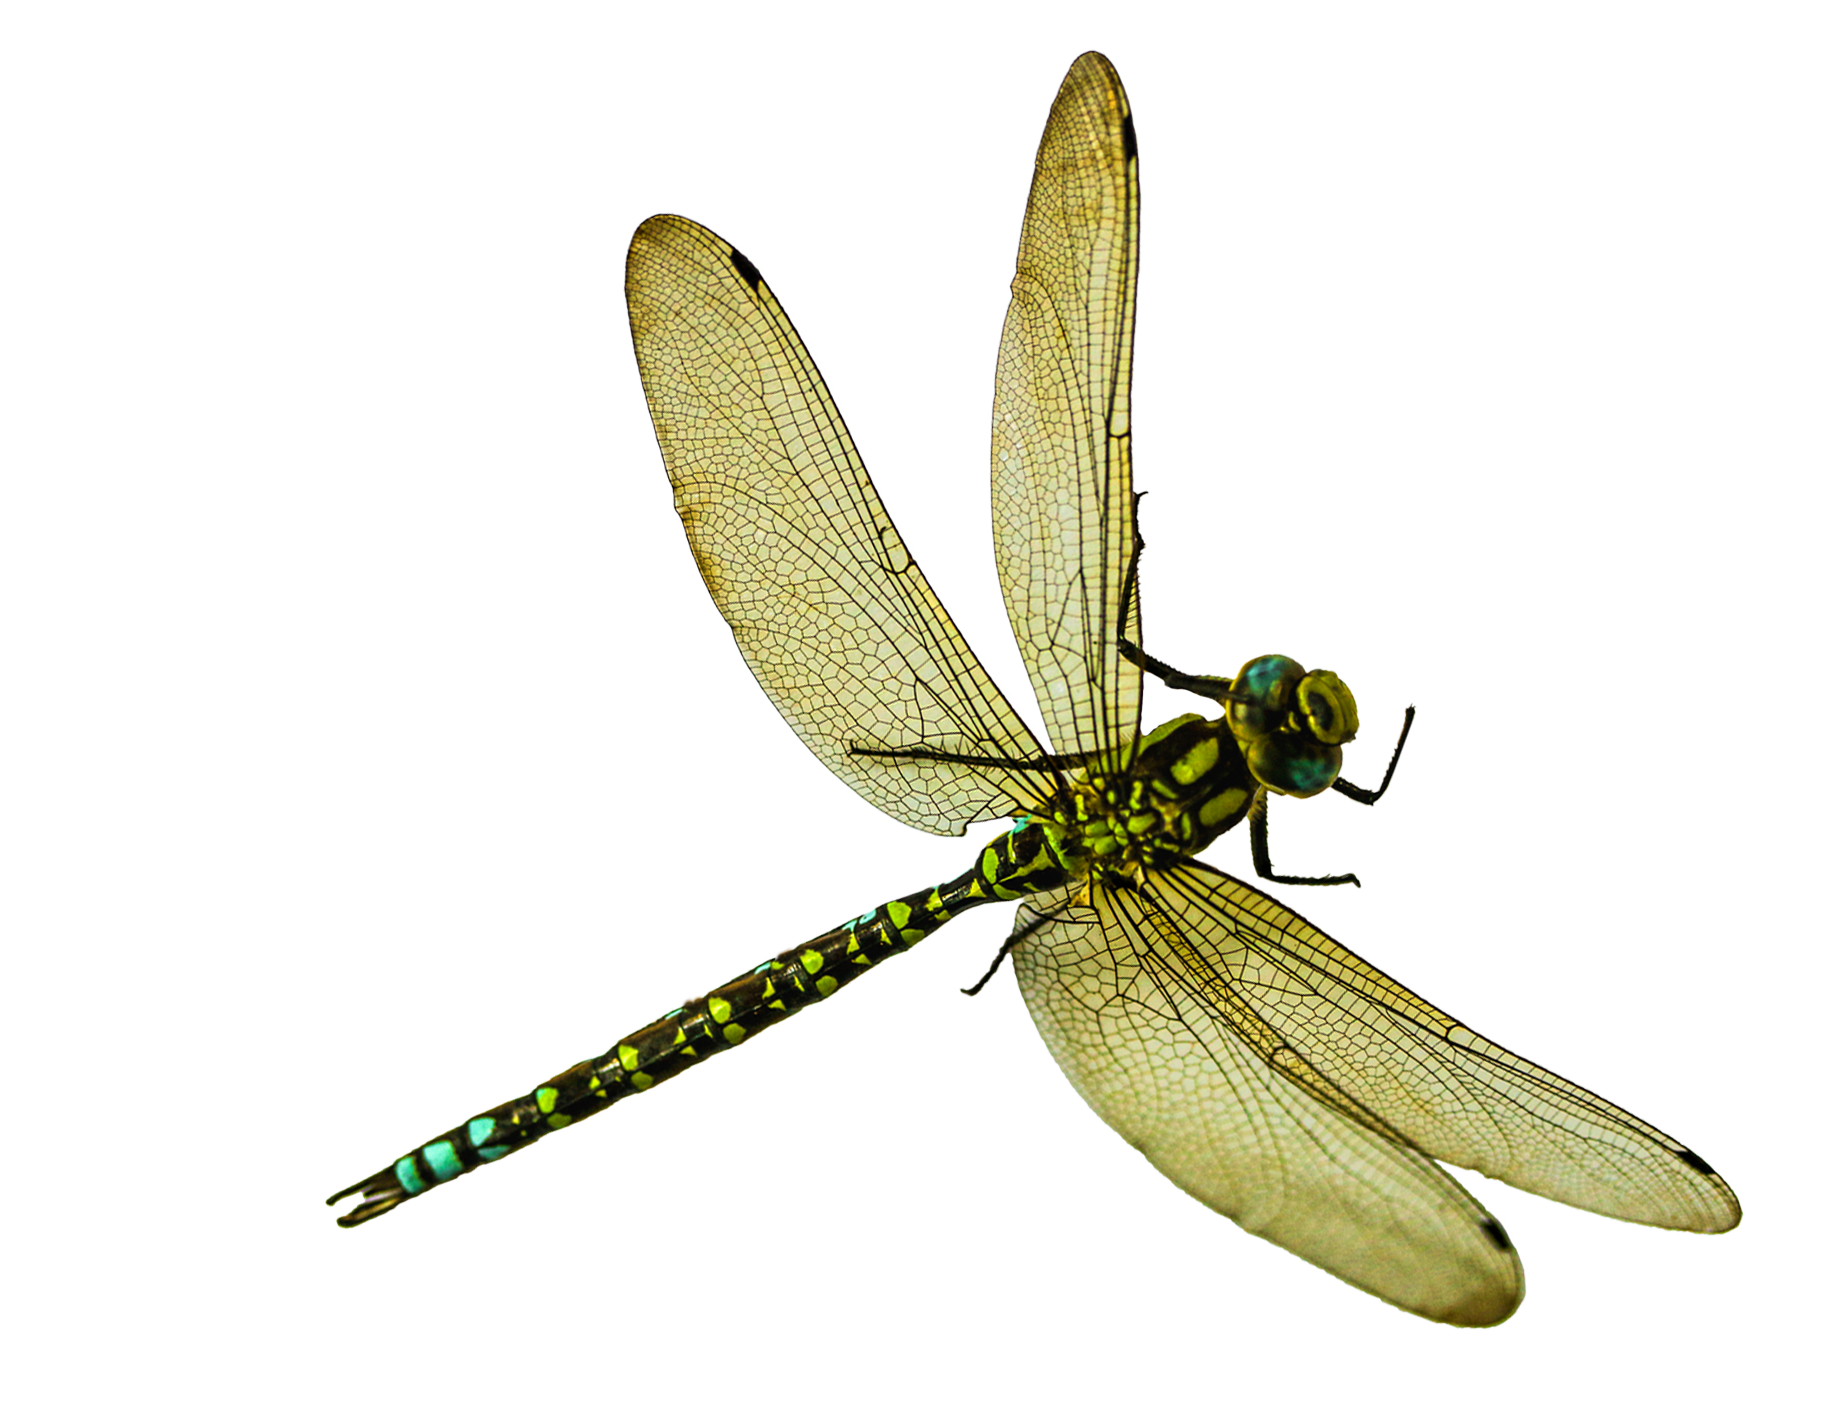
Put yellow sticky traps
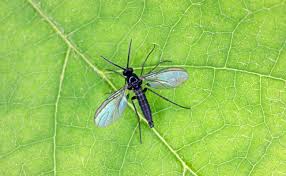
By putting some yellow sticky traps, it is possible to lessen the number of whiteflies present in your infested greenhouse environments and garden. The main reason is that these sticky traps are made in such a way that they can capture all whiteflies coming close to your plants.
The traps can, therefore, stop such insects from landing on your plants and causing infestations. You can also use the traps in monitoring the whitefly population, thereby promoting ease in figuring out whether the numbers are increasing without the need for close inspection.
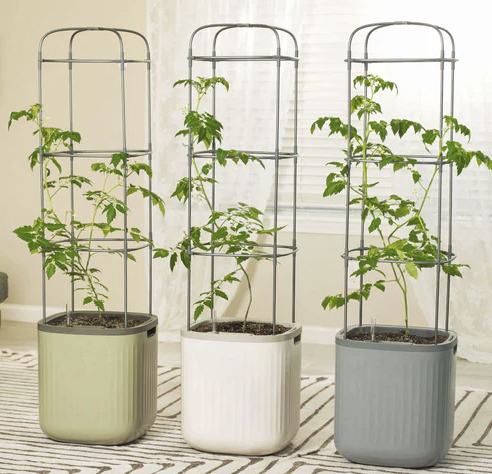
Preventive Measures
In addition to the mentioned solutions, it also helps you to do something to prevent the whitefly infestation from happening in the first place. Among the preventive measures you can do, in this case, are the following:
- Inspect plants closely, especially new ones that you intend to bring home – Isolate new ones for several days, separating them from the others. This is to make sure that they do not bring in whiteflies that may only infest the plants already existing in your garden.
- Take plants outdoors every summer – This is the time when natural predators, like lacewings and ladybugs, will feed on the larvae of whiteflies. Ensure that you carefully spray them with neem oil or pyrethrin before returning them indoors during the winter.
- Do companion planting – Note that there are plants that emit odors capable of repelling whiteflies. These include sage, cilantro, and mint. Try to do companion planting using the mentioned plants to keep whiteflies under control.
- Do not use chemical insecticides – Most whiteflies are naturally resistant to chemical insecticides, so they won’t be of help in preventing and controlling their population. These insecticides may also only kill beneficial insects, the natural predators of whiteflies, as well as the insects pollinating your garden to promote a good harvest.
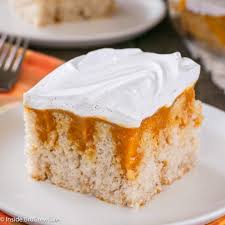
Will vinegar kill whiteflies on plants?
Yes. As a matter of fact, it is one of the most highly recommended home remedies for whiteflies that damage plants. Make sure to buy and use pure vinegar.
All it takes for you to start using it would be to dilute it in water (equal parts) then spray this solution on the houseplants. This solution is often enough in killing whiteflies.


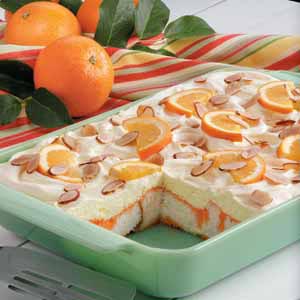
 You can also use muffin tin and make upside down cupcakes.


 Apple Dump Cake:
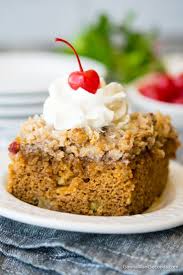

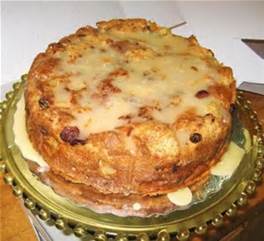


 Slice good French or Italian bread in individual pieces. Mix the ingredients together in a bowl and spread on the bread. Sprinkle on a little parmesan cheese if you like, it’s really tasty on this bread. The original recipe calls for the pieces to be re-assembled untoasted into a loaf, wrapped in foil and baked until hot. I still like mine to be broiler toasted. I lay the pieces out with mayo side up on a foil lined broiler pan and broil until toasty. This is one time you better “watch the pot boil” as the saying goes, as this will cook fast. Enjoy