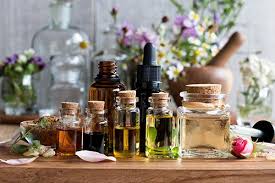
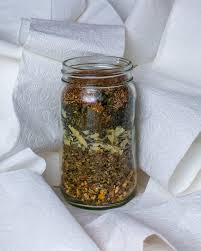
Each herb has a broad range of applications…
Dosage Guide Note
1 dropperful = 30 drops = 0.75ml (approx)
(Note: a dropperful doesn’t actually fill the whole dropper, it’s one pump of the bulb!).
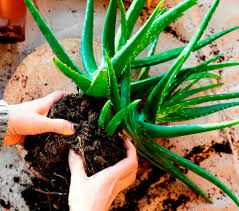
Aloe vera is a medicinal plant that grows in hot climates such as California, New Mexico, and the Caribbean. It contains more than 75 active ingredients, including enzymes, amino acids, vitamins, and minerals, some of which could make it useful for treating diseases.
This plant-based remedy contains chemicals that reduce swelling in the skin, relieve redness and scaling, soothe itchy skin, and promote the growth of new skin cells. These properties make aloe vera useful for treating skin conditions such as: Acne, Cold sores (herpes), Cuts and scrapes, Insect bites and stings, Minor burns and sunburn and Psoriasis. . Aloe juice is also promoted as a natural remedy for diabetes, heartburn, and inflammatory bowel syndrome (IBS). When taken by mouth, aloe vera may help lower cholesterol and blood sugar and ease heartburn.
Alfalfa (Medicago sativa)
Alfalfa is rich in minerals and healthy compounds, and contains a high amount of protein. It has been used to treat morning sickness, nausea, kidney issues and urinary tract discomfort. It also acts as a diuretic and a light stimulant.
1-3 ml, 3 times daily
Ashwagandhan Nurtures your nervous system and increases your vitality. Consumption with alcohol, other drugs or natural health products with sedative properties is not recommended. 1-4 ml, 3 times daily
Basil (Ocimum basilicum)
This staple spaghetti topper actually has a range of medicinal uses and can help with a lack of appetite, excess gas and cuts.
Burdock Root For detox and pain associated with rheumatism. May cause allergic reactions in people sensitive to plants in the asteraceae family.
1-4 ml, 3 times daily
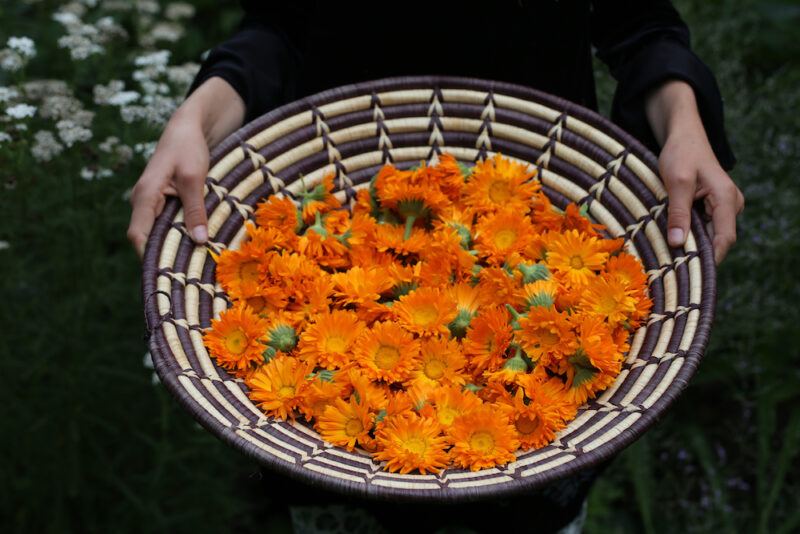
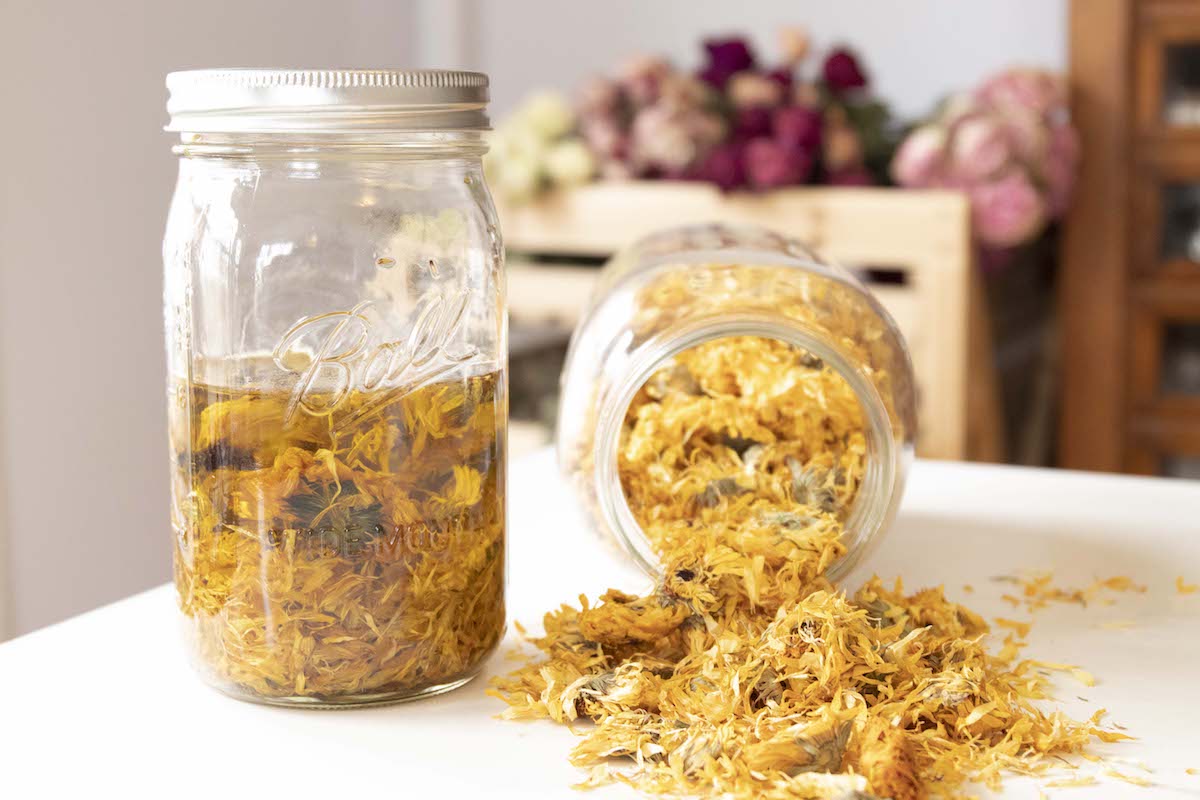
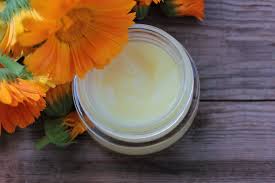
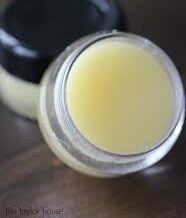
Calendula Anti-inflammatory and immune-modulating. Do not use if you are allergic to plants of the Asteraceae/Compositae/Daisy family.
1-4 ml, 3 times daily
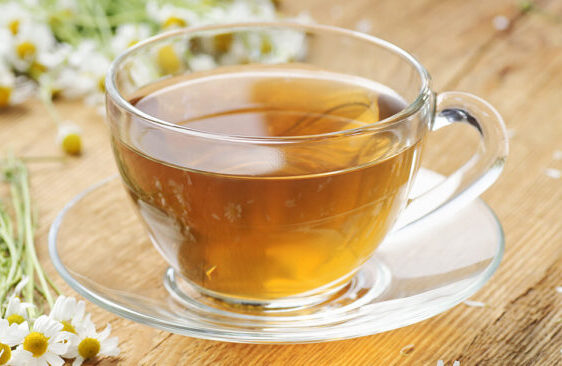
Chamomile Reduce gastrointestinal complaints and ease restlessness and nervous irritability. Do not use if you are allergic to plants of the Asteraceae/Compositae/Daisy family. Can relieve skin inflammation and irritations.
1-4 ml, 3 times daily
Dandelion Root Stimulates bile flow (helps with constipation) and improves digestion.
2.5 – 5ml, 3 times daily
Echinacea The perennial Echinacea plant is said to be a powerful immune booster and is used to combat symptoms of colds, flu, and infections. Antimicrobial infection fighter. Consult a health care practitioner before use if you are taking
immunosuppressants or if you have a progressive systemic disease such as tuberculosis, leukosis, collagenosis or multiple sclerosis. Do not use if you are allergic to plants of the Asteraceae/Compositae/Daisy family.
1-4 ml, 3 times daily
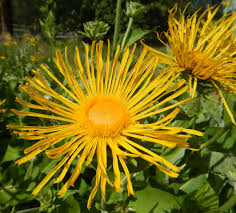
Elecampane root is used for asthma, bronchitis, intestinal worms, and many other conditions, but there is no good scientific evidence to support its use. It is also used to prevent coughing, especially coughing caused by tuberculosis; and as an expectorant to help loosen phlegm, so it can be coughed up more easily.
Feverfew (Tanacetum parthenium)
The leaves of the feverfew can be used in teas and chewed to relieve headaches. As a natural anti-inflammatory, it is said to help with arthritis and a variety of skin conditions.
Lavender
Simply the smell of lavender has been shown to help people relax. It can be used as an antiseptic and is useful for skin inflammation, insomnia and anxiety.
Lemon Balm Mild sedative and calming agent. Lemon Balm may interfere with the action of thyroid hormones. Caution
advised for those with hypothyroid.
2 – 6 ml, 3 times daily
Licorice Root For respiratory and gastrointestinal conditions. Not suggested for everyday long-term use. Prolonged use in conjunction with thiazide
and loop diuretics and cardiac glycosides is contraindicated and liquorice should not be administered in combination with spironolactone or amiloride. This herb is not recommended
for those taking cardiac glycosides, hypotensive agents, corticoids, diuretic drugs, or monoamine oxidase inhibitors. Discontinue use at least 2 weeks before surgery.
1-3 ml, 3 times daily
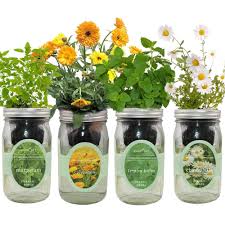
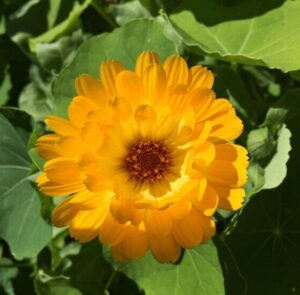
Marigold (Tagetes)
Marigold has a wide range of uses, including treating acne, sunburn, ulcers, digestive problems, insect bites and more.
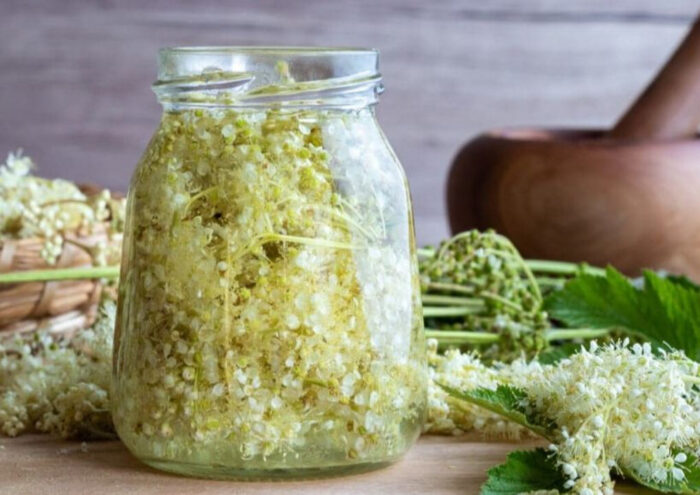
Marshmallow root is a perennial herb. Marshmallow root contains mucilage, a gummy substance that forms a gel when mixed with water. This gel can be used to: Soothe irritated mucous membranes, Reduce irritation in the throat and stomach, and Soothe chapped skin. Some potential benefits of marshmallow root include: Relieving coughs, Improving dry mouth, Protecting against ulcers, Soothing skin irritation, and Healing wounds. Marshmallow root is generally well tolerated in adults, but some people may experience rare allergic reactions. Anecdotal reports also suggest that taking marshmallow root may cause upset stomach and dizziness.
Marshmallow root can be used in a variety of ways, including: Herbal syrups, Infusion blends, Body care products, Gargling, and Throat soothing.
Milky Oat A sedative tonic to strengthen your nervous system, especially after periods of prolonged stress
1 – 5 ml, 3 times daily
Motherwort A sedative for the relief of nervousness and restlessness. Consult a health care practitioner before use if you have a heart condition or are taking heart medications. Consumption with alcohol or other medications with sedative
properties is not recommended.
1-4 ml, 3 times daily
Mullein Cough remedy and anti-inflammatory
2.5 – 5 ml, 3 times daily
Nettle Leaf Helps relieve seasonal allergy symptoms. Excessive doses may keep you awake at night, nettle seeds are stimulants.
1.5 to 4 ml, 3 times daily
Nettle Seed Restore balance to the adrenals.
2 ml, 3 times daily
Oatstraw Regular consumption of oatstraw tea or supplements can help alleviate symptoms of PMS, improve mood, and enhance overall energy levels. By nourishing the adrenal glands, oatstraw can also help in managing stress and reducing cortisol levels, making it an excellent natural remedy for hormonal imbalances.
Pansy Wild (Viola tricolor)
Another anti-inflammatory herb, the wild tansy can be used to ease eczema and skin blemishes and help loosen phlegm. It was also believed to help the heart, which is
why it is sometimes called heartsease.
Parsley (Petroselinum crispum)
Useful for so much more than plate decoration, parsley can treat bad breath, gas, inflammation, and even has anti-cancer properties.
Peppermint (Mentha × Piperita)
Peppermint should be a go-to for any stomach issues. It has also been shown to help with alertness and headaches.
Red Clover Relief to inflammatory skin conditions. Consult a healthcare practitioner if you currently have or have previously had hormonal sensitive conditions such as breast cancer, uterine cancer, ovarian cancer, endometriosis or uterine fibroids
2 – 4 ml, 3 times daily
Rosemary (Rosmarinus officinalis)
Rosemary is one of the best herbs to improve concentration, memory and mood. It is also great for wound healing, hair growth, and bad breath.
St Johns Wort
Relief of restlessness and nervousness. Consult a health care practitioner: if you experience sleep disturbances; if you are taking conventional medicine such as contraceptives, HIV-1 protease inhibitors, nonnucleoside reverse transcriptase inhibitors, immunosuppresants, anticoagulants, digoxin, theophylline, serotonergic antidepressants, migraine therapies, SSRIs and/or anti-epilepsy drugs; Do not use if pregnant or breastfeeding. Discontinue use at least 2 weeks before surgery.
2 – 4 ml, 3 times daily.
Sage (Salvia officinalis)
The name Sage is derived from a word that means “to heal” or “to save”, reflecting its historical use as a medicinal herb. It is useful for a variety of ailments, including mouth and throat inflammations, bloating, heartburn and depression.
Thyme (Thymus vulgaris)
The active phenol in thyme is thymol, known to be a potent antiseptic. It is useful for coughs, sore throat, tooth decay, congestion and indigestion.
Willow Bark Relieves headaches and back pain. Do not use: if you are taking blood thinners or herbs or medications containing acetylsalicylic acid (ASA) or other salicylates; if you are allergic to acetylsalicylic acid (ASA) or other salicylates; if you are pregnant or breastfeeding.
3 – 6 ml, 3 times daily
Wild Tansy can be used to ease eczema and skin blemishes and help loosen phlegm. It was also believed to help the heart.
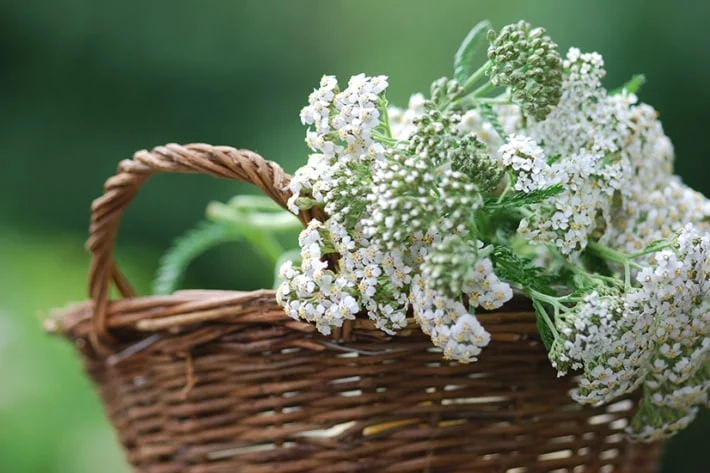
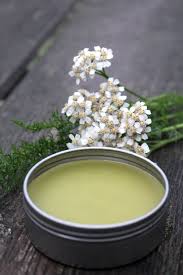
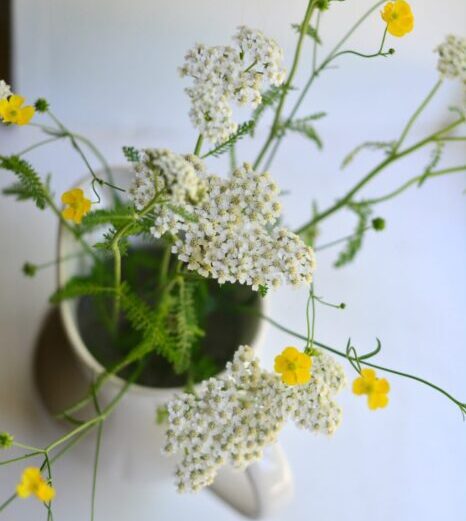
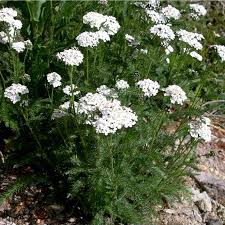
Yarrow (Achillea millefolium) has many medicinal uses, including:
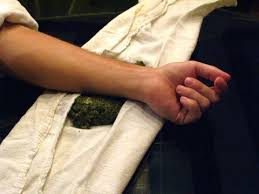
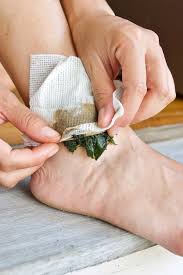
Bleeding: Yarrow can stop bleeding from wounds and cuts. The plant’s leaves can be mashed with water and applied to wounds.
Burns and sores: Yarrow can be used as a poultice for burns and open sores.
Fevers and colds: Yarrow tea can help with fevers and colds.
Toothaches: Yarrow can help with toothaches.
Anxiety and insomnia: Yarrow can act as a mild sedative to help with anxiety or insomnia.
Inflammation: Yarrow can help with inflammation.
Multiple sclerosis: A randomized controlled trial found that people with multiple sclerosis who took 250 or 500 mg of yarrow daily for a year had fewer yearly relapses.
Chest congestion and sinus issues: Yarrow tea can help with chest congestion and sinus issues.
Yarrow can interact with some medications, including blood thinners, stomach acid reducers, high blood pressure medications, and sleepiness-inducing drugs. Yarrow is also likely unsafe to take during pregnancy because it can affect the menstrual cycle and may cause miscarriage.
6 Mushroom Proactive immunity defense
2 – 4 ml, 3 times daily
Dosage By Age & Weight
1 | AGE
Children should use a reduced
dosage (see next page) and
some seniors may also find a
smaller amount effective.
3 | WEIGHT
Standard dosages are based on
a 150lb adult. If you weigh more
or less, you might need to
adjust the dosage accordingly
up or down.
5 | GOALS
Someone working through
deeper physical conditions may
use more tincture than
someone seeking subtle effects
on the mind, emotions, or spirit.
2 | SENSITIVITY
Someone who tends to be
sensitive to herbs or medicines
in general will often need less of
an herb to have an effect.
4 | YOUR HEALTH
We always suggest working with
a herbalist or your health
practitioner if you have
underlying health conditions.
6 | CONDITION
Acute conditions like the flu or a
headache often require a more
frequent dosage (i.e. every
hour) but for a short-term
period (i.e. 1-2 days)
www.yourwebsite.com
CHILDRENS DOSAGES
There are two formulas that are widely used to calculate
children’s dosages: Clark’s Rule and Young’s Rule.
(We prefer Clark’s Rule, as body weight is more specific)
Clarks’ Rule:
Adult Dose X (Weight ÷ 150) = Childs Dose
Example: 11 year old girl who is 70 Lbs, and the adult dose is 30 drops
30 Drops X (70 ÷ 150) = Child’s Dose
30 Drops X (.47) = Child’s Dose
Child’s dose = 14.1 Drops (Round to 14 Drops),
Young’s Rule
[Age / (Age + 12)] x Recommended Adult Dose = Child’s Dose
Example: 11-year-old girl and you’re working with that same 30 drops, 3
times a day adult dose:
30 drops x (11 ÷ (11+12)) = child’s dose
30 drops x (11 ÷ 23) = child’s dose
30 drops x .48 = child’s dose
Child’s dose = 15 drops, 3 times a day


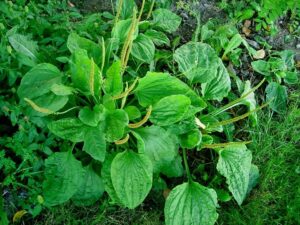 Plantain is a common herb that grows in lawns, along pathways, and areas with disturbed soil.
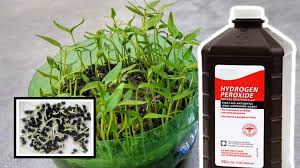


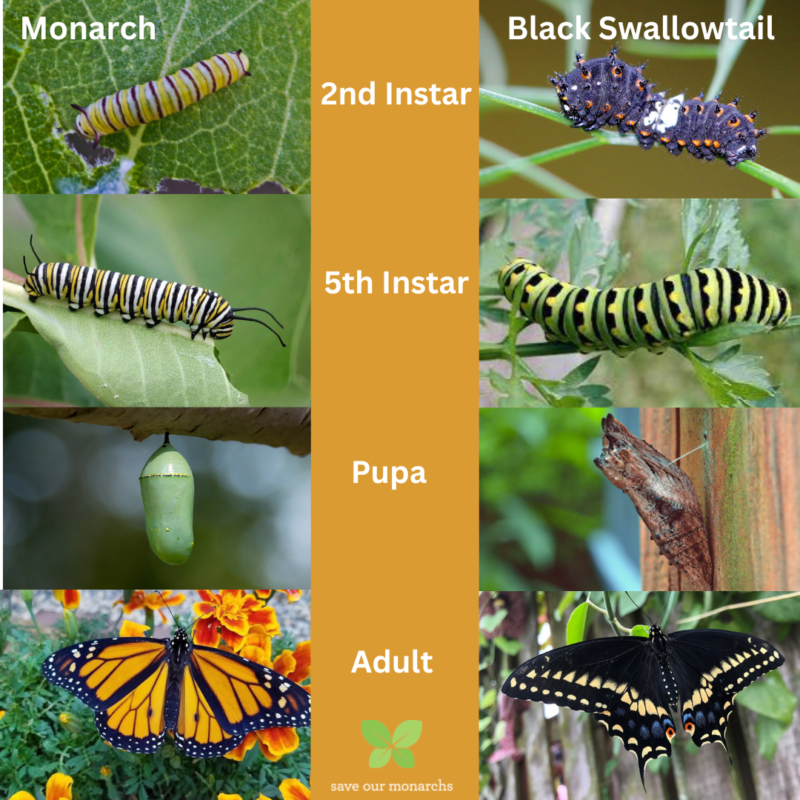
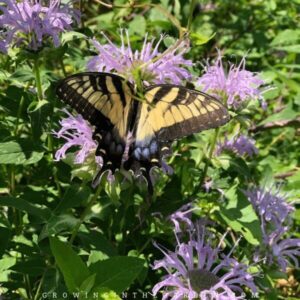
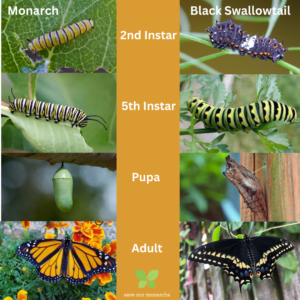 The Black Swallowtail caterpillars have thicker, green stripes and yellow, wavy “dots”. They also don’t have the long tentacles on their head and tail end like Monarch caterpillars do.
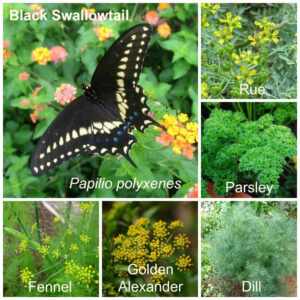 How to keep the caterpillars happy and not lose all of your plants or resort to using pesticides!
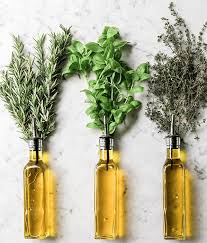
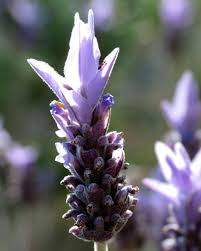 If you opt for lavender, stay away from English varieties and look for French (photo at left) or Spanish lavender (lavender pink), which will be better suited to the climate in Tucson. Some summer herbs, such as lemon verbena and lemon grass, can be used for landscaping as well, if they are planted in protected areas and covered in the case of frost.
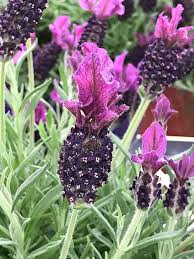
 Anise:
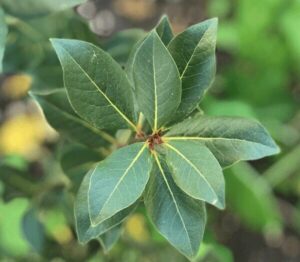 Bay:
Bay:
 Calendula:
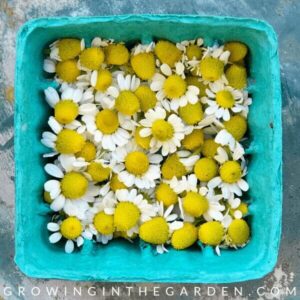 Chamomile:
 Chives:
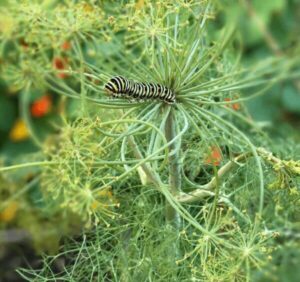 Dill:
Dill: Ginger:
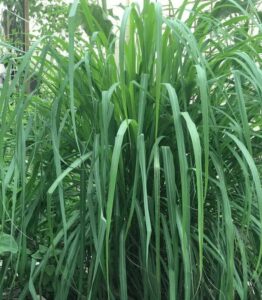 Lemon Grass:
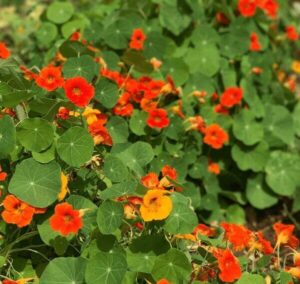 Nasturtium:
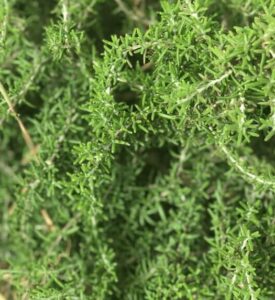 Rosemary:
 Turmeric:
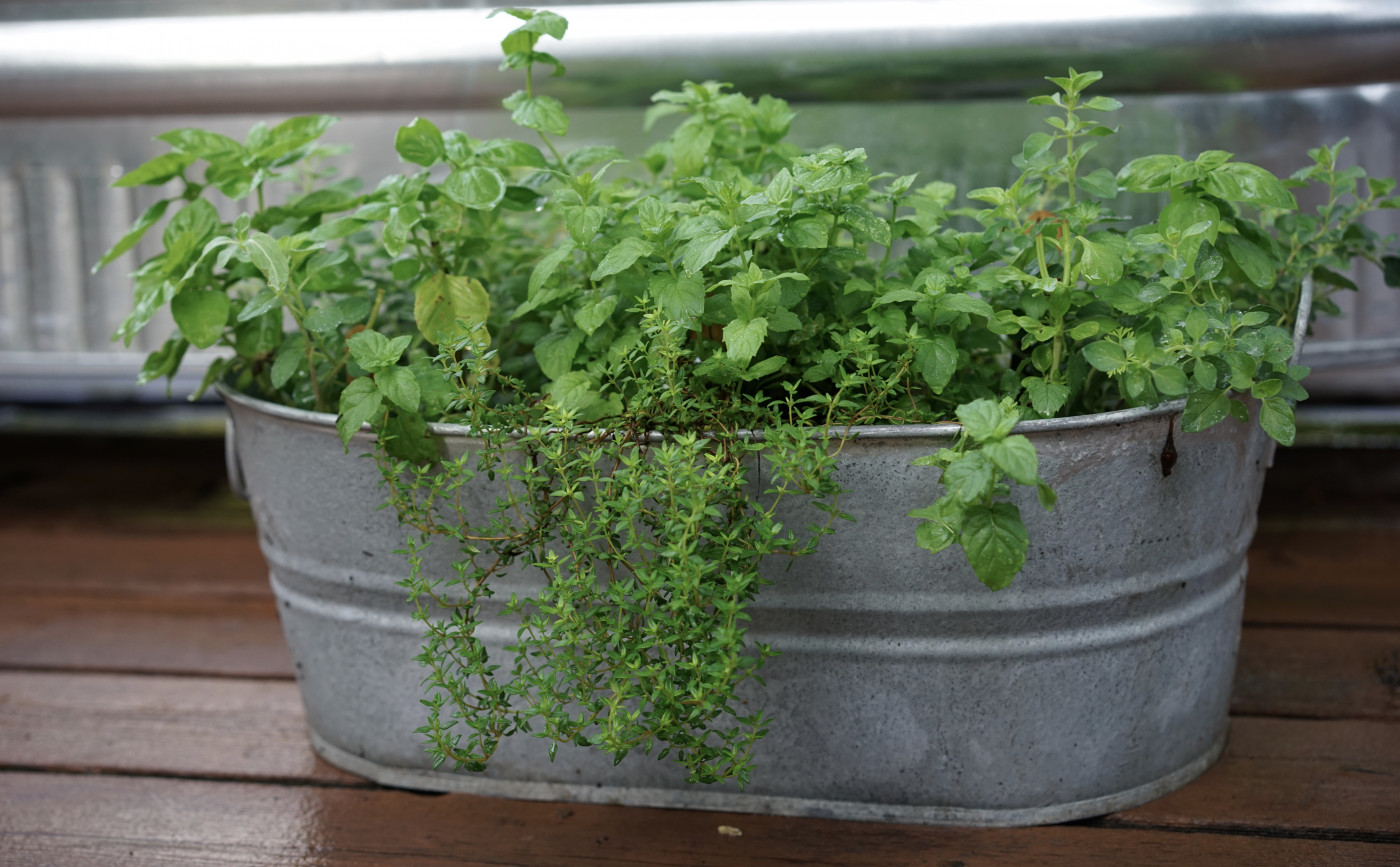

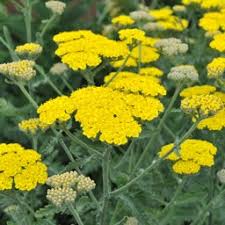 Moonshine yarrow: Achillea x ‘Moonshine’
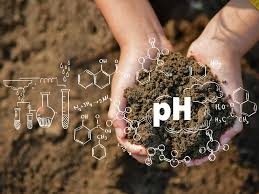
 The soil pH value is a measure of soil acidity or alkalinity. Soil pH directly affects nutrient availability. The pH scale ranges from 0 to 14, with 7 as neutral. Numbers less than 7 indicate acidity while numbers greater than 7 indicate alkalinity.