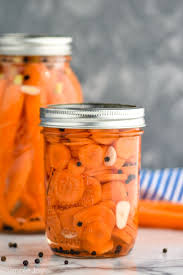
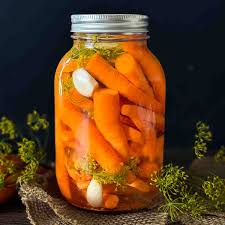
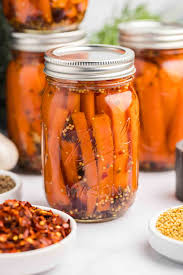
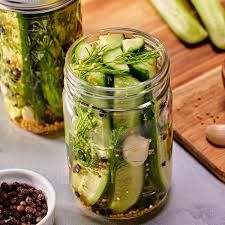
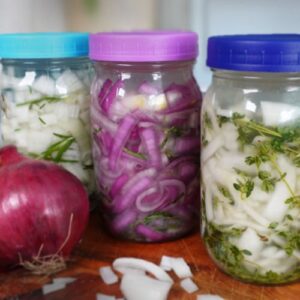
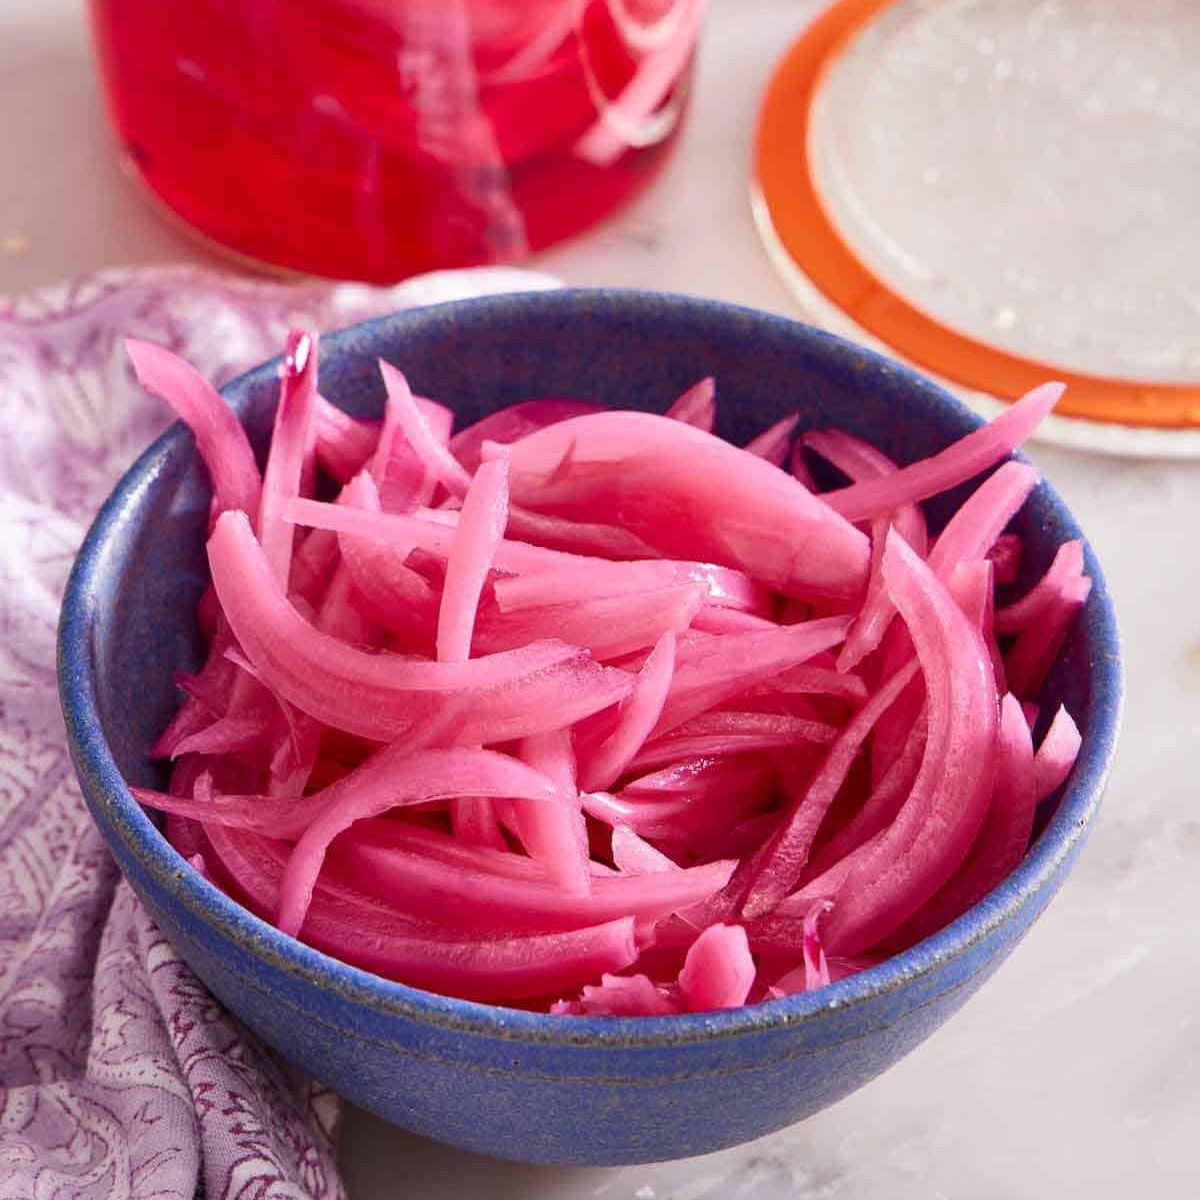
For a versatile and flavorful result, a classic quick-pickled dill carrot recipe offers the best balance of tangy flavor and satisfying crunch, perfect for snacking or adding to salads and sandwiches.
This recipe uses a simple, reliable brine and a short refrigeration period, making it easy to prepare.
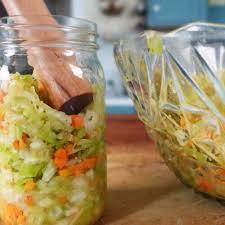
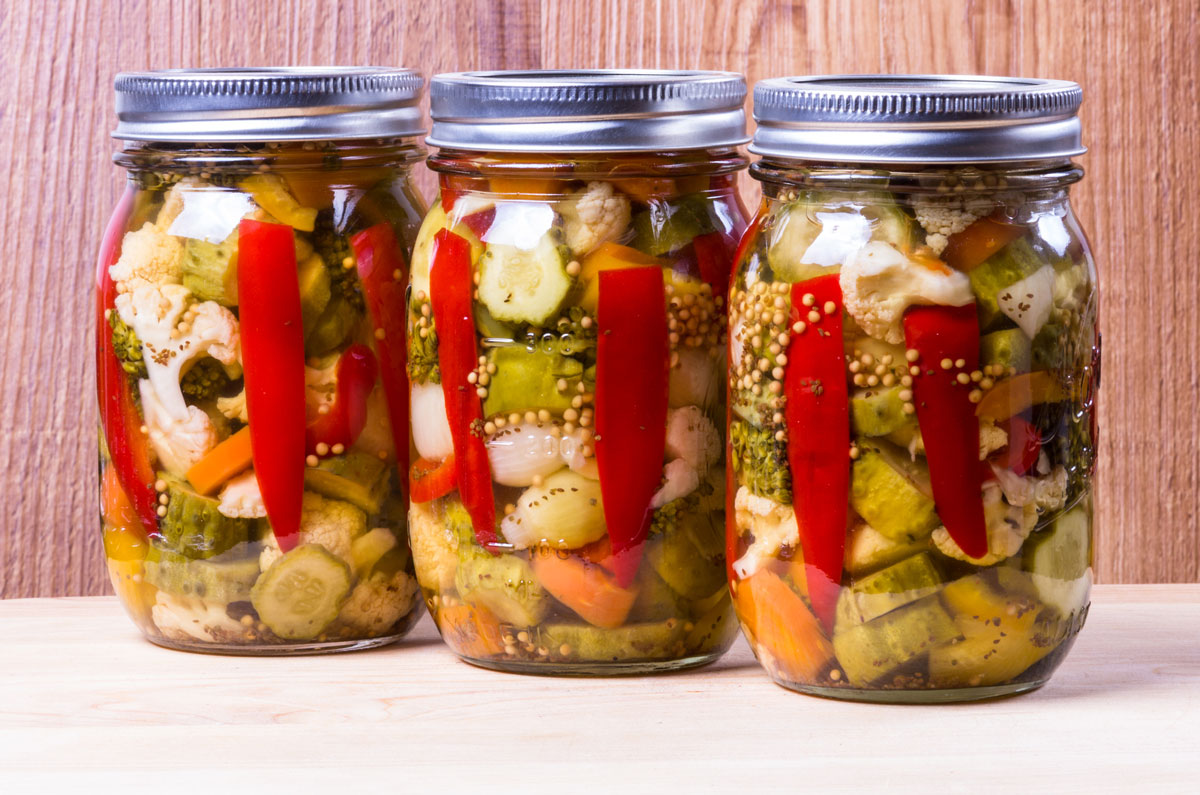
Classic Pickled Dilly Carrots (Quick Pickle Method)
This recipe is for
#2 Recipe:
For a versatile and flavorful result, a classic quick-pickled dill carrot recipe offers the best balance of tangy flavor and satisfying crunch, perfect for snacking or adding to salads and sandwiches.
This recipe uses a simple, reliable brine and a short refrigeration period, making it easy to prepare.
Classic Pickled Dilly Carrots (Quick Pickle Method)
This recipe is for refrigerator pickles and should be stored in the fridge, where they will keep for a few weeks. The flavors improve significantly after at least 48 hours.
Ingredients
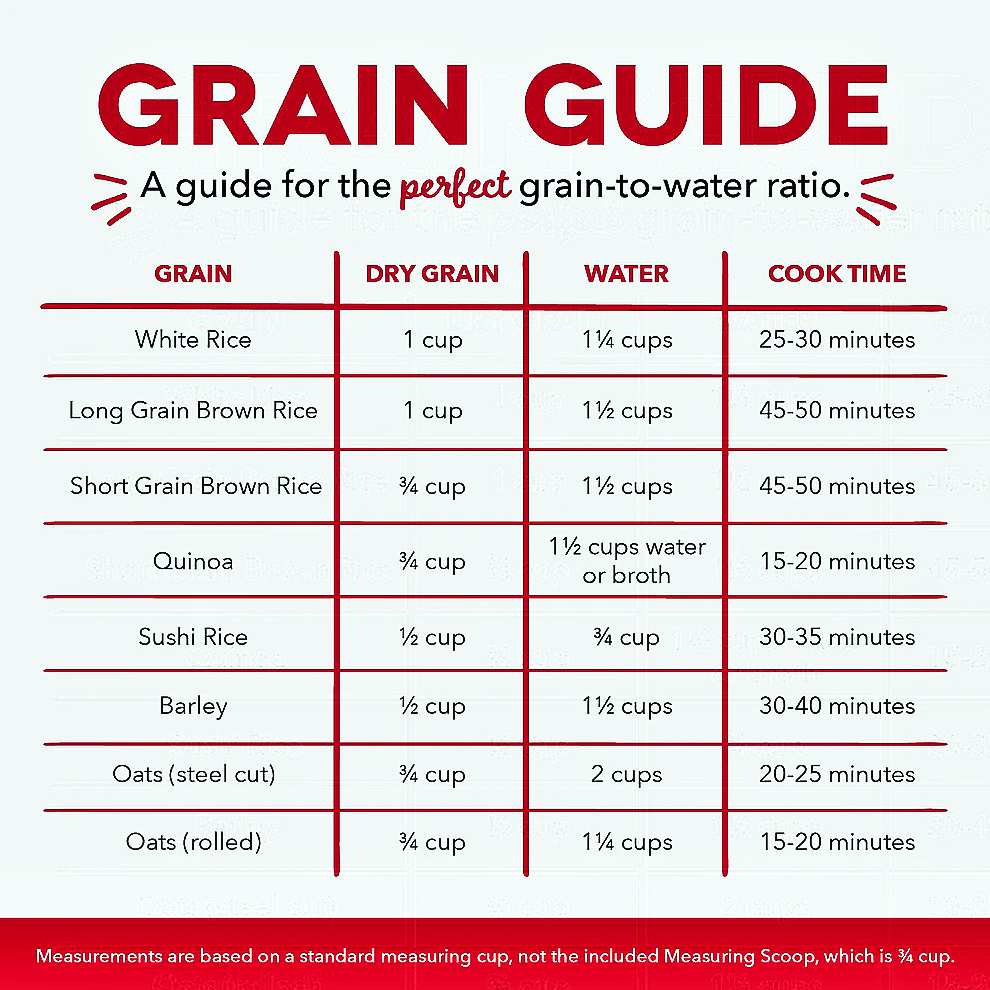
Carrots: 1 pound, peeled and cut into sticks or slices to fit your jar
Water: 1 cup
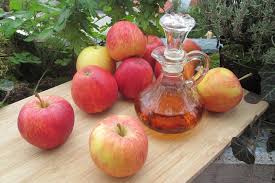
White Vinegar (5% acidity): 1 cup
Pickling Salt (or Kosher/Sea Salt): 1 tablespoon
Garlic: 2 cloves, smashed or halved
Dill seeds: 1 teaspoon (or a fresh dill head)
Black Peppercorns: 1/2 teaspoon
Optional: 1 tablespoon white sugar or honey to balance the vinegar
Instructions
Prepare the Carrots and Jars: Wash and peel the carrots. Cut them into uniform sticks or slices that will fit vertically into a clean glass jar(s) while leaving about 1/2 inch of headspace. Pack the carrots tightly into the jar(s). Add the garlic, dill seeds, and peppercorns to the jar(s).
Make the Brine: In a small saucepan, combine the water, vinegar, and salt (and sugar/honey if using). Bring the mixture to a boil, stirring until the salt and sugar are fully dissolved. Remove the brine from the heat.
Combine and Cool: Pour the hot brine over the carrots in the jar, ensuring they are fully submerged, leaving about 1/2 inch of headspace at the top. Gently tap the jar to remove air bubbles.
Seal and Refrigerate: Allow the jar to cool to room temperature (about 1 hour), then seal it tightly with a lid. Place the jar in the refrigerator.
Wait: Let the carrots pickle for at least 48 hours before eating; the flavor is best after 2-3 days. They can be stored in the refrigerator for up to a month.
Variations
You can easily customize the flavor profile by changing the spices or adding other ingredients:
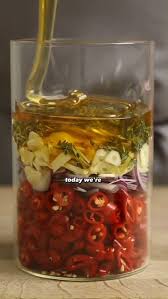
Spicy Mexican Style: Add a sliced jalapeño, dried Mexican oregano, and a bay leaf to the jar for a zesty flavor profile often found in taquerias.
Asian Style: Use rice wine vinegar and add a slice of fresh ginger, minced garlic, a whole star anise, and red pepper flakes for a Vietnamese-style pickle, great for banh mi.
Sweet & Tangy: Increase the sugar to 2 tablespoons or more and consider using apple cider vinegar for a sweeter, bread-and-butter-style pickle.
pickles and should be stored in the fridge, where they will keep for a few weeks. The flavors improve significantly after at least 48 hours.
Ingredients
Carrots: 1 pound, peeled and cut into sticks or slices to fit your jar
Water: 1 cup
White Vinegar (5% acidity): 1 cup
Pickling Salt (or Kosher/Sea Salt): 1 tablespoon
Garlic: 2 cloves, smashed or halved
Dill seeds: 1 teaspoon (or a fresh dill head)
Black Peppercorns: 1/2 teaspoon
Optional: 1 tablespoon white sugar or honey to balance the vinegar
Instructions
Prepare the Carrots and Jars: Wash and peel the carrots. Cut them into uniform sticks or slices that will fit vertically into a clean glass jar(s) while leaving about 1/2 inch of headspace. Pack the carrots tightly into the jar(s). Add the garlic, dill seeds, and peppercorns to the jar(s).
Make the Brine: In a small saucepan, combine the water, vinegar, and salt (and sugar/honey if using). Bring the mixture to a boil, stirring until the salt and sugar are fully dissolved. Remove the brine from the heat.
Combine and Cool: Pour the hot brine over the carrots in the jar, ensuring they are fully submerged, leaving about 1/2 inch of headspace at the top. Gently tap the jar to remove air bubbles.
Seal and Refrigerate: Allow the jar to cool to room temperature (about 1 hour), then seal it tightly with a lid. Place the jar in the refrigerator.
Wait: Let the carrots pickle for at least 48 hours before eating; the flavor is best after 2-3 days. They can be stored in the refrigerator for up to a month.
Variations
You can easily customize the flavor profile by changing the spices or adding other ingredients:
Spicy Mexican Style: Add a sliced jalapeño, dried Mexican oregano, and a bay leaf to the jar for a zesty flavor profile often found in taquerias.
Asian Style: Use rice wine vinegar and add a slice of fresh ginger, minced garlic, a whole star anise, and red pepper flakes for a Vietnamese-style pickle, great for banh mi.
Sweet & Tangy: Increase the sugar to 2 tablespoons or more and consider using apple cider vinegar for a sweeter, bread-and-butter-style pickle.


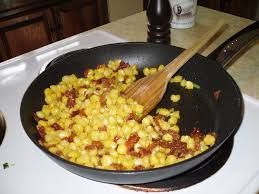
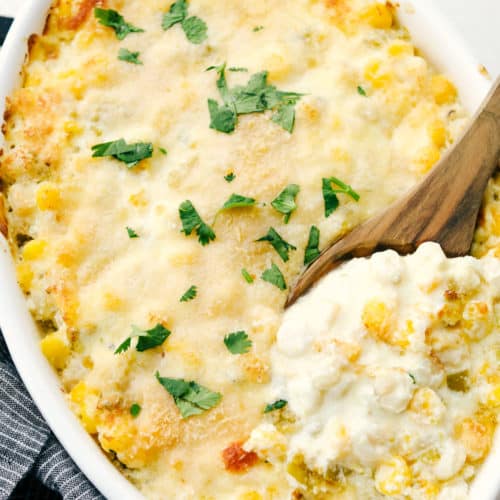
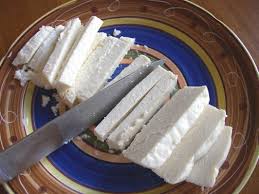
 Easy, creamy and cheesy Hominy Casserole is a side dish.

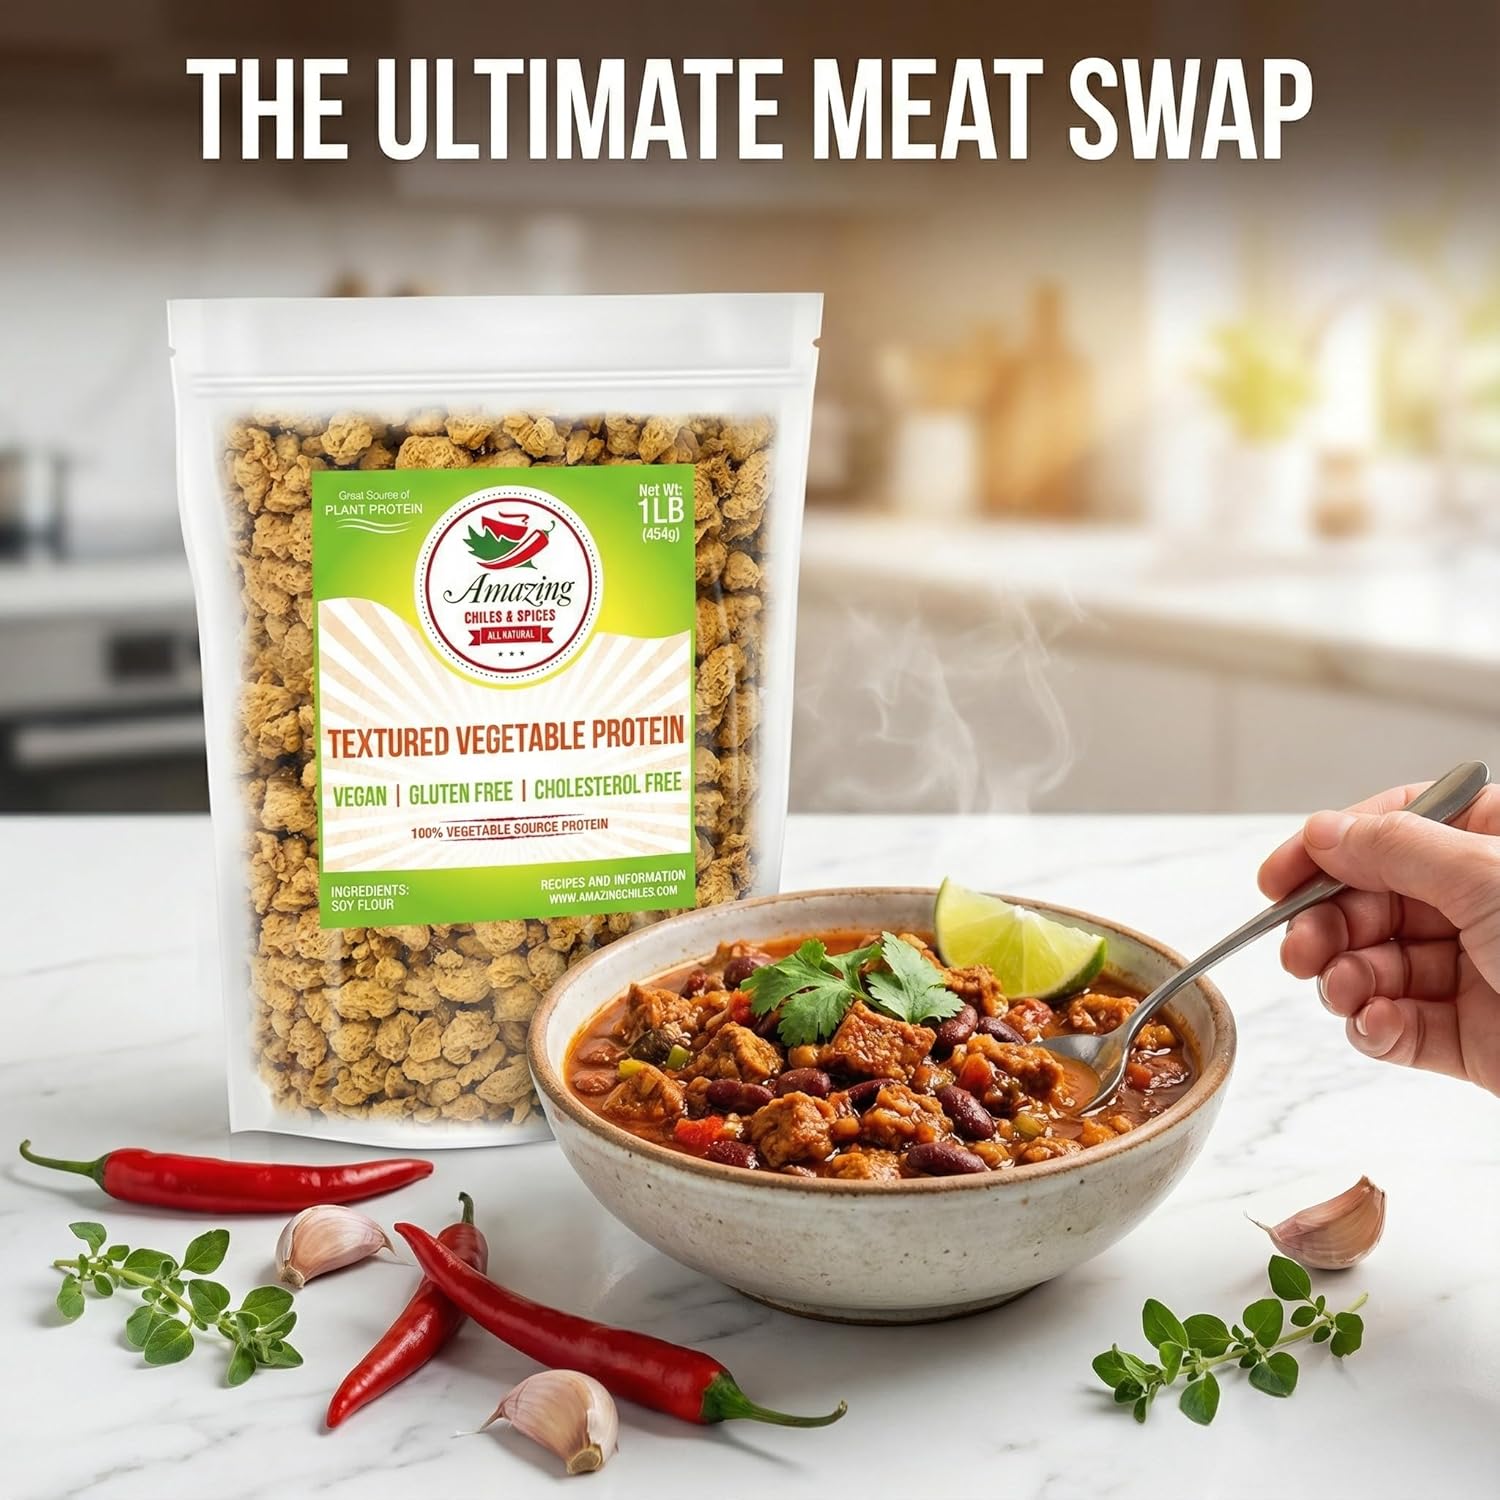
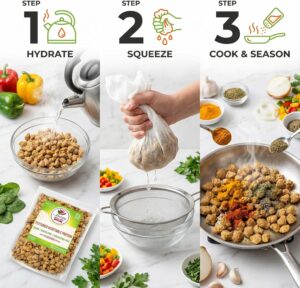 Dry, unopened textured vegetable protein (TVP) can last 1–2 years in a cool, dry pantry, though some sources suggest it can last even longer (up to 10+ years in sealed containers). Once opened, dry TVP should be used within 6–12 months. Cooked or rehydrated TVP lasts in the refrigerator for 3–5 days.